
Writing a check may seem old-fashioned in today’s digital banking world, but it remains a reliable method for paying bills, rent, or sending money when electronic payments aren’t available. Knowing how to write a check correctly ensures your payment is processed smoothly and avoids mistakes that could delay transactions.
In this guide, we’ll break down the process into simple steps, explain each section of a check, and offer tips for accuracy and security.
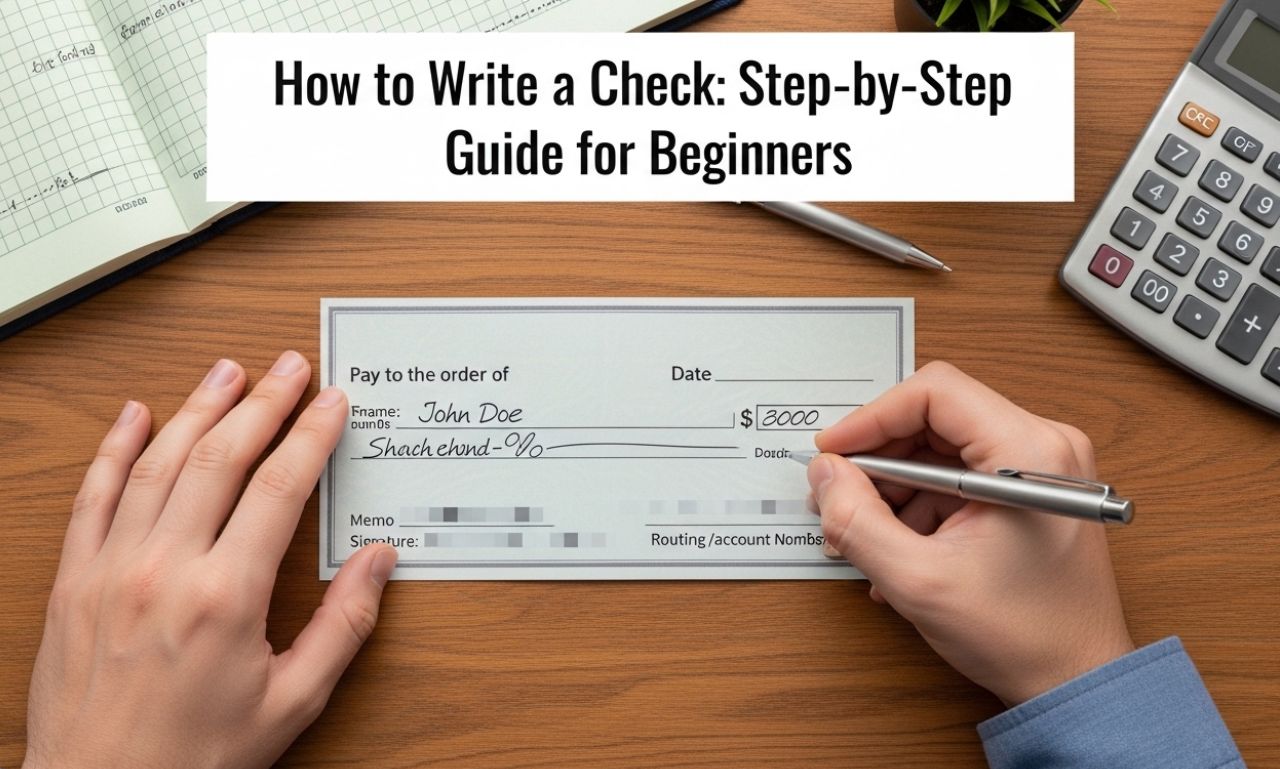
Understanding the Parts of a Check
Before learning how to write a check, it helps to know its components. A typical check includes:
-
Date Line: Where you write the current date.
-
Payee Line: The person or organization receiving the check.
-
Amount Box: The numeric dollar amount you are paying.
-
Amount Line: The dollar amount written in words.
-
Memo Line: Optional note about the purpose of the check.
-
Signature Line: Where you sign to authorize the payment.
-
Routing and Account Numbers: Printed at the bottom for bank processing.
Understanding each part ensures your check is clear and valid.
Step 1: Write the Date
Start with the date in the top right corner of the check. Use the format that your bank prefers, commonly:
-
Month/Day/Year (e.g., 03/15/2026)
-
Or, March 15, 2026
The date indicates when the check was written and can be important for record-keeping and verification.
Step 2: Enter the Payee Name
Next, write the full name of the person or organization receiving the money on the line that says “Pay to the order of.” Make sure the spelling is correct to prevent issues when the check is deposited.
-
Example: John Smith
-
Example for a business: Electric City Utilities
Step 3: Fill in the Amount Box
Write the numeric amount of money in the small box on the right side of the check. Use a decimal for cents.
-
Example: 125.50 for one hundred twenty-five dollars and fifty cents
-
Double-check your numbers to prevent errors.
Step 4: Write the Amount in Words
Below the payee line is a longer line where you write the amount in words. This is used to confirm the numeric amount and helps prevent fraud.
-
Example: One hundred twenty-five and 50/100 dollars
-
Always include cents as a fraction over 100 (even if zero, write “00/100”).
Step 5: Add a Memo (Optional)
The memo line is optional but can be helpful for tracking the purpose of the check. Write a short note about the payment:
-
Example: Rent for March 2026
-
Example: Invoice #452 payment
This note is mostly for your records or the recipient’s reference.
Step 6: Sign the Check
The signature at the bottom right authorizes the bank to release the funds. Use the same signature on file with your bank. Without a signature, the check is invalid.
-
Tip: Sign in ink to prevent alterations.
Step 7: Record the Check in Your Checkbook
After writing a check, log the transaction in your checkbook register. Include:
-
Check number
-
Date
-
Payee
-
Amount
-
Purpose
This helps track your spending and ensures you don’t overdraw your account.
Tips for Writing Checks Safely
-
Use a pen: Never use a pencil. Ink is permanent and reduces fraud risk.
-
Write legibly: Clear handwriting prevents errors or misinterpretation.
-
Fill in all sections: Avoid leaving blanks that someone could fill in fraudulently.
-
Keep records: Always track your checks for accurate accounting.
-
Avoid post-dating checks: Some banks may still cash them immediately.
Common Mistakes to Avoid
-
Mismatched amounts: Make sure the numeric and written amounts are the same.
-
Incorrect payee name: Check spelling carefully.
-
Unsigned checks: No signature means no valid payment.
-
Overwriting numbers: Use a new check instead to prevent bank rejection.
When to Use a Check
Checks are useful in situations such as:
-
Paying rent to a landlord
-
Sending money by mail
-
Paying for services without digital payment
-
Providing proof of payment
While online banking and apps are popular, checks remain a trusted payment method, especially for large transactions or when a paper trail is needed.
Conclusion
Learning how to write a check is a basic financial skill that remains relevant despite digital payment options. By carefully filling out the date, payee, amount, memo, and signature, you can ensure your checks are processed without delays or errors.
Maintaining a record of each check helps you manage your finances, avoid overdrafts, and stay organized. With this step-by-step guide, you can confidently write checks for personal or business purposes.